How to Add a Store Locator to Your Website in Under 5 Minutes
Learn how to set up a fully branded store locator on any website platform in under 5 minutes — no coding required. Step-by-step guide with Pinbly.
If you run a business with multiple locations, a store locator is one of the most important features your website can have. Customers shouldn’t have to dig through a “Contact” page or scroll through a list of addresses to figure out which store is closest to them.
The good news? With Pinbly, you can go from zero to a fully working store locator in under five minutes — no developer needed.
Why Every Multi-Location Brand Needs a Store Locator
People search for businesses “near me” billions of times per year. If they land on your site and can’t immediately find the closest location, they’ll leave — usually to a competitor who makes it easy.
A well-built store locator does three things:
- Reduces friction — Customers find the nearest store instantly
- Improves local SEO — Individual location pages rank for “[your brand] + [city]” searches
- Gives you data — You can see which locations get the most searches and clicks
Step 1: Create Your Pinbly Account
Head to Pinbly and sign up for a free trial. No credit card required. Once you’re in, you’ll land on your dashboard where you can manage all your locations from one place.
Step 2: Add Your Locations
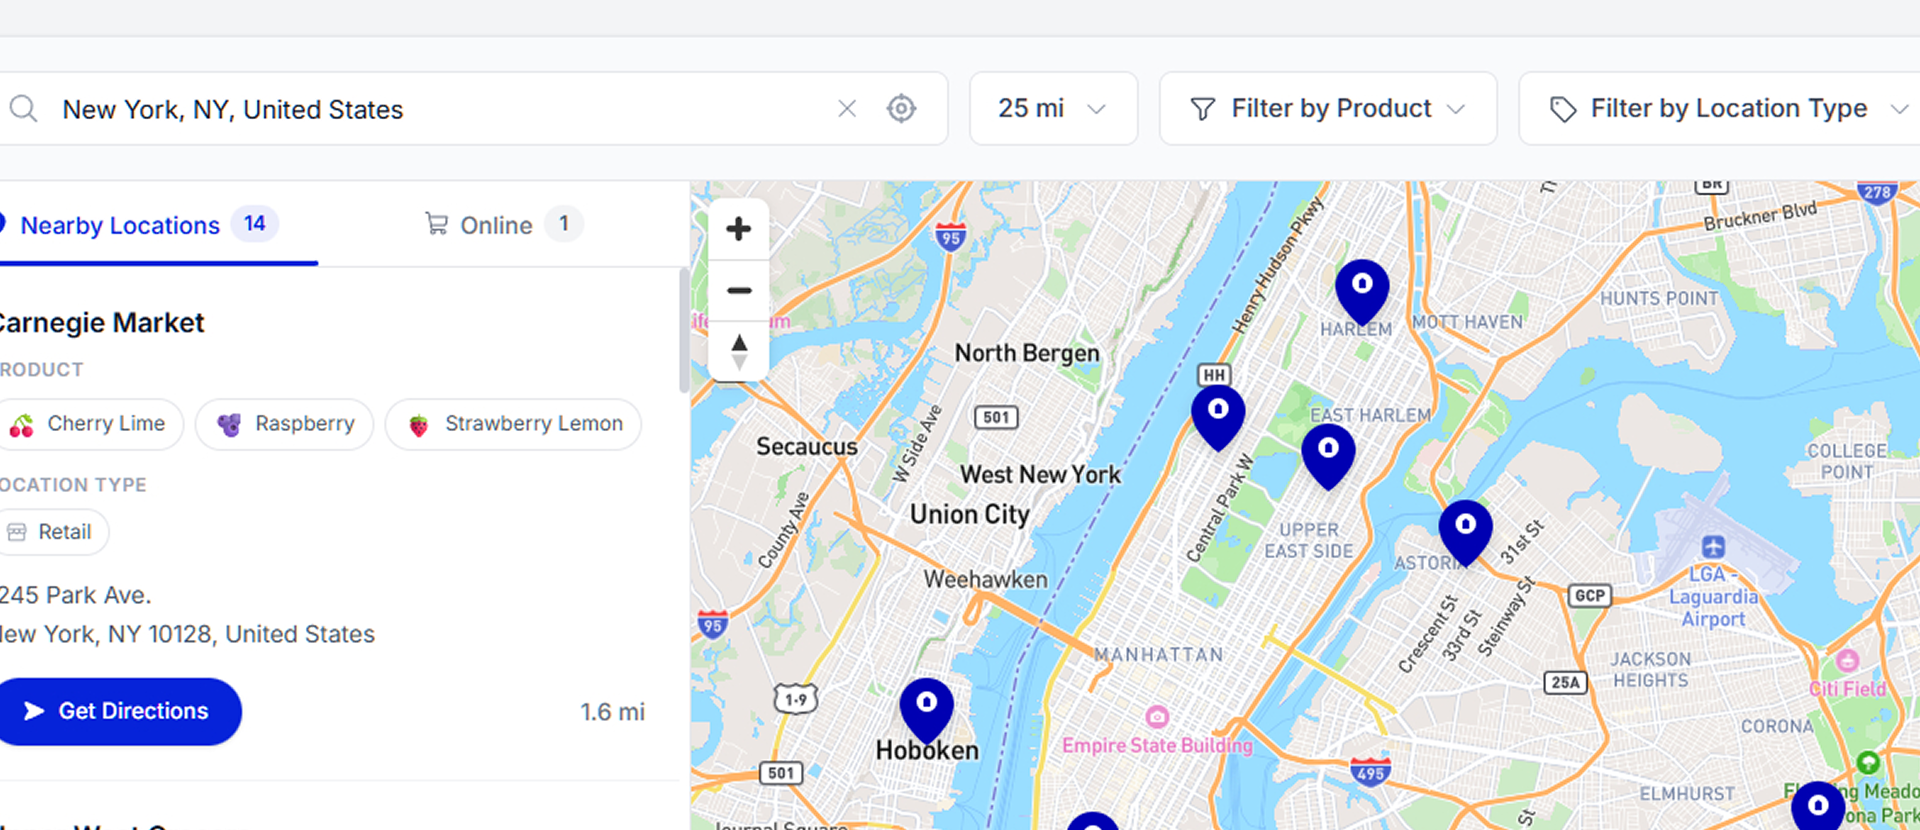
You can add locations one at a time or use the bulk import feature to upload a CSV with all your store data at once. Pinbly will automatically geocode addresses and place pins on the map.
For each location, you can include:
- Store name and address
- Phone number and email
- Business hours
- Custom attributes (wheelchair accessible, parking available, etc.)
- Photos and descriptions
Step 3: Customize Your Locator
Pinbly’s locator widget is fully customizable. Match it to your brand colors, choose your map style, set up custom markers, and configure the search radius. Everything updates in real-time as you make changes.
Step 4: Embed on Your Website
Once you’re happy with the design, grab the embed code and paste it into your website. Pinbly works with WordPress, Shopify, Squarespace, Wix, Webflow, and any platform that supports HTML embeds.
For WordPress users, simply paste the code into a Custom HTML block. For Shopify, add it to a page template. It’s literally copy and paste.
Step 5: Publish Location Pages
Here’s where Pinbly really stands out. Beyond the map widget, Pinbly automatically generates SEO-optimized location pages for each of your stores. These pages are designed to rank for local search queries like “Brand Name + City” or “store near [location].”
What Happens After You Launch
Once your locator is live, Pinbly’s analytics dashboard shows you exactly how customers interact with it. You’ll see which locations get the most views, which searches are most common, and where people are clicking “Get Directions.”
This data is gold for making decisions about marketing spend, store expansions, and inventory allocation.
Ready to Get Started?
You don’t need a developer, a design team, or weeks of planning. Pinbly gives you everything you need to launch a professional store locator that actually drives foot traffic. Try it free for 14 days and see the difference.
Related Articles
You Don’t Need a Developer to Build a World-Class Store Locator
The biggest limiting belief in the multi-location world: "We need a developer to build a proper store locator."…
Is a Store Locator Really Worth It for Small Businesses?
"We only have 5 locations — do we really need a store locator?" Short answer: yes. Here's the…
Why Your Google Maps Embed Isn’t a Real Store Locator
Pasting a Google Maps embed on your website and calling it a "store locator" is like putting a…