How to Add a Store Locator to WordPress (Without a Plugin)
Skip the bloated plugins. Learn how to embed a fast, fully customizable store locator on your WordPress site with Pinbly — no plugin required.
WordPress powers over 40% of all websites on the internet, and if you’re running a multi-location business on WordPress, you’ve probably searched for “store locator plugin” at least once. The problem? Most plugins are bloated, slow, and hard to customize.
There’s a better approach: embed a hosted store locator that looks native to your site but doesn’t add weight to your WordPress installation.
The Problem with Store Locator Plugins
Traditional WordPress plugins for store locators come with a long list of downsides:
- Performance — They load heavy JavaScript and CSS files on every page, not just the locator page
- Maintenance — Plugin updates can break your site, especially after WordPress core updates
- Customization limits — Most plugins offer basic styling options that never quite match your theme
- No analytics — You get a map with pins, but zero insight into how visitors actually use it
The Embed Approach: Clean and Fast
Instead of installing a plugin, you can embed Pinbly’s store locator directly into any WordPress page using a simple code snippet. Here’s how:
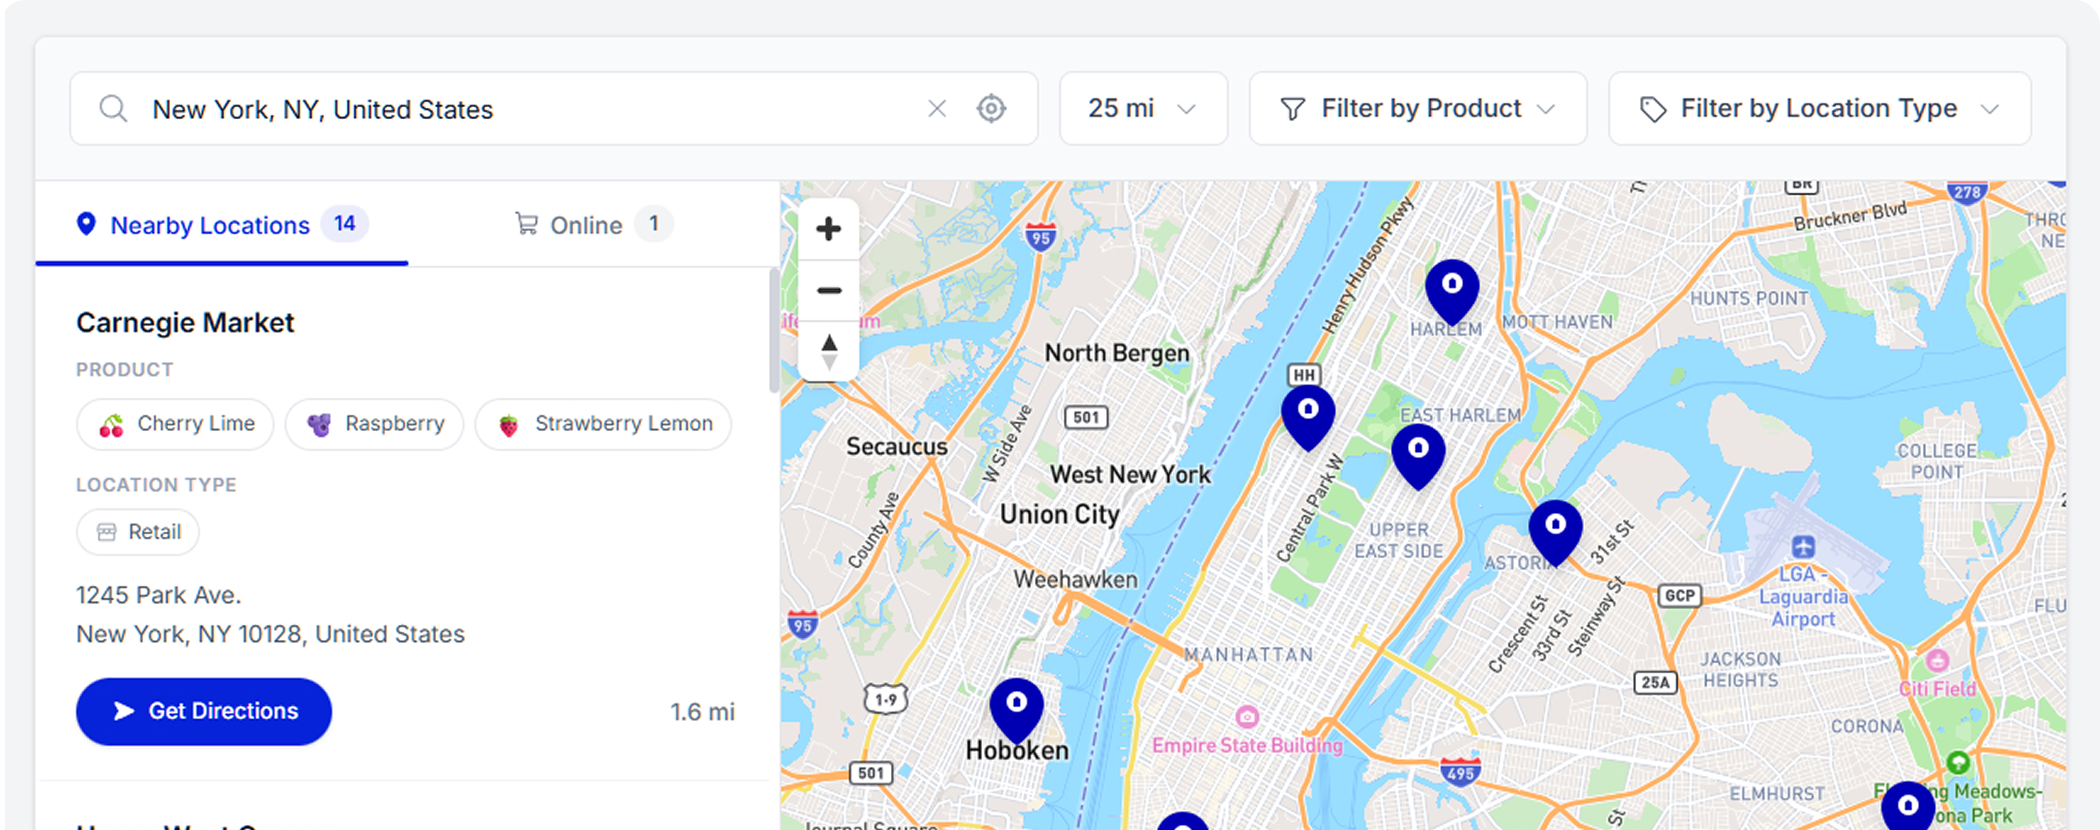
Step 1: Set Up Your Locations in Pinbly
Log into your Pinbly dashboard and add your store locations. You can do this manually or upload a CSV file with all your location data. Pinbly handles the geocoding automatically.
Step 2: Customize the Widget
Style your locator to match your WordPress theme. Choose colors, fonts, map styles, and search behavior. Pinbly gives you a live preview so you can see exactly how it will look on your site.
Step 3: Copy the Embed Code
Navigate to the “Embed” section in your Pinbly dashboard and copy the embed code. It’s a lightweight JavaScript snippet that loads asynchronously — meaning it won’t slow down your page.
Step 4: Add It to WordPress
In the WordPress block editor, add a “Custom HTML” block to the page where you want the locator. Paste the embed code and publish. That’s it.
If you’re using the classic editor, switch to the “Text” tab and paste the code there instead.
Step 5: Enable Location Pages for SEO
One major advantage of using Pinbly over a plugin is the automatic SEO location pages. Each store gets its own page that’s optimized for local search. These pages live on Pinbly’s infrastructure but can be linked from your WordPress site navigation.
Performance Comparison
We tested a popular WordPress store locator plugin against Pinbly’s embed on the same site. The results:
- Plugin: Added 340KB of assets, increased page load by 1.2 seconds
- Pinbly embed: 28KB async script, zero impact on initial page load
For WordPress sites where speed matters (and it always does), the difference is significant.
Wrapping Up
You don’t need to install another plugin to get a great store locator on WordPress. Pinbly’s embed approach is faster, more customizable, and comes with analytics and SEO features that plugins simply don’t offer. Give it a try — your first 14 days are free.
Related Articles
You Don’t Need a Developer to Build a World-Class Store Locator
The biggest limiting belief in the multi-location world: "We need a developer to build a proper store locator."…
How to Add a Store Locator to Your Website in Under 5 Minutes
Learn how to set up a fully branded store locator on any website platform in under 5 minutes…
How to Add a Store Locator to Shopify
Add a store locator to your Shopify store in minutes. No app required — just embed Pinbly's lightweight…